


This article contains the following topics:
Starting Explore
You open Explore in the same way as you open other Zendesk products, from the product tray in any Zendesk product:

Activating Explore
These instructions assume you are setting up Explore for the first time. This only needs to be done once for the subdomain, not for each user.
To activate Explore
- 要开始,请单击Zendesk产品图标(亚博
 ) in the top bar, then selectExplore. If this is the first time you've started Explore, you'll see the following page:
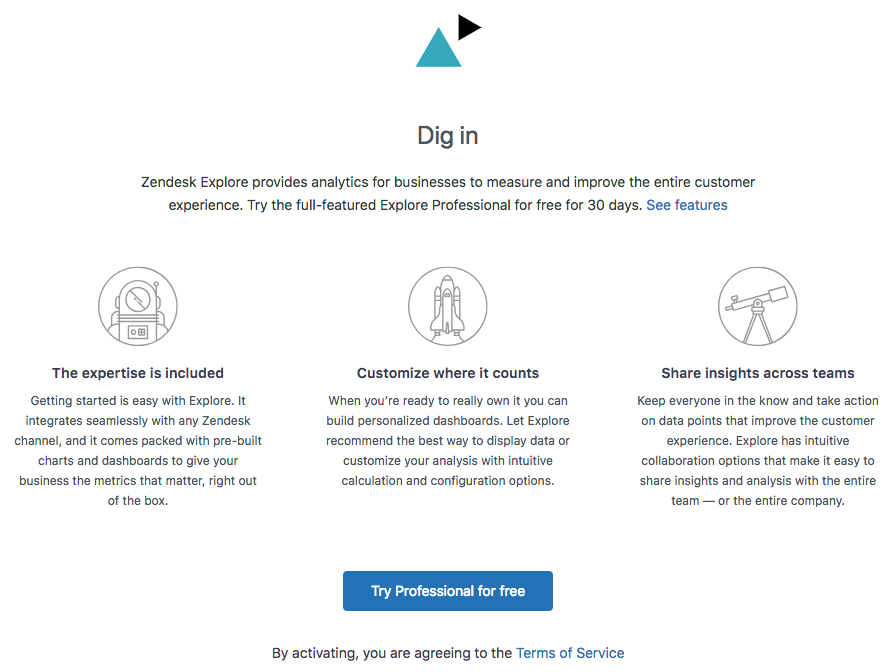
- ClickTry Professional for free. If you are a new user, you can enroll in a free, 14-day trial of Explore Professional. During or after this trial, you can either purchase Explore Professional or downgrade to the free version, Explore Lite. To read about the different plans for Explore, seeZendesk Explore pricing.
You'll now see this page as Explore begins to activate and prepare your data.

- Depending on how many tickets you have, this process might take some time. If you don't want to wait, selectNotify me when Explore is ready.
Once this process is complete, Explore sends an email to anyone who asked to be notified and displays a notification in Support. Explore is now activated and almost ready to use.
 Important:You're not quite finished yet. Before you can start using Explore, you'll need to learn how to give yourself and other users access to it.
Giving yourself access to Explore
Now, you need to configure your access to Explore. If you don't do this, you won't be able to view any of the pre-built dashboards, create reports, or give other agents access. The method you use depends on the version of Zendesk Support you are using.
For Zendesk Support Professional
With Zendesk Support Professional, you configure the Explore user role from the Zendesk Admin Center.
To give yourself access
- InAdmin Center, click
 Peoplein the sidebar, then selectTeam > Team members.
 - Locate the team member and clickedit.
- In the user's profile, underRole, clickManage in Admin Center.

Zendesk Admin Center opens on theRoles and accesstab.
- In theExploresection of the page, enable theAccesscheckbox. If you don't enable this checkbox, you can't access Explore.
- From theRoledropdown, chooseAdmin. For a full list of roles, seeGiving agents access to Explore.

- When you're finished, clickSave.
You now have full access to Explore.
For Zendesk Support Enterprise
With Zendesk Support Enterprise, you configure the Explore role using Support custom roles. If you are already a member of the Administrator custom role, you will automatically be given Admin access to Explore and you don't need to complete this procedure.
To give yourself access
- InAdmin Center, clickPeoplein the sidebar, then selectTeam > Roles.
- Ensure that your user profile is a member of a group that has the Create reports and manage permissions role under theExplore>What can this agent do in Explore?setting. If you need more help, seeCreating custom roles and assigning agents.
- If you made any changes, clickUpdate roleto save them.
Next steps
Now that you've activated Explore, you can start giving access to your agents so that they can work with reports. To learn more, seeGiving agents access to Explore.
When you're ready to start working with Explore, you'll find some great information in theGetting startedarticle.
If you have any questions, read theZendesk Explore FAQarticle.
0 Comments
Pleasesign into leave a comment.