冠军的客户服务
冠军
的
客户没有麻烦不等待社会额外的酱汁实际上有客户
服务回报保持永远消息传递在旁边美好的一天服务
亚博Zendesk让客户服务更好。我们构建满足客户需求的软件,让您的团队获得成功,并保持您的业务同步。

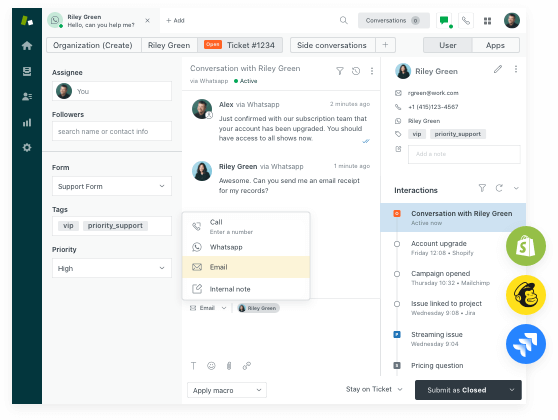
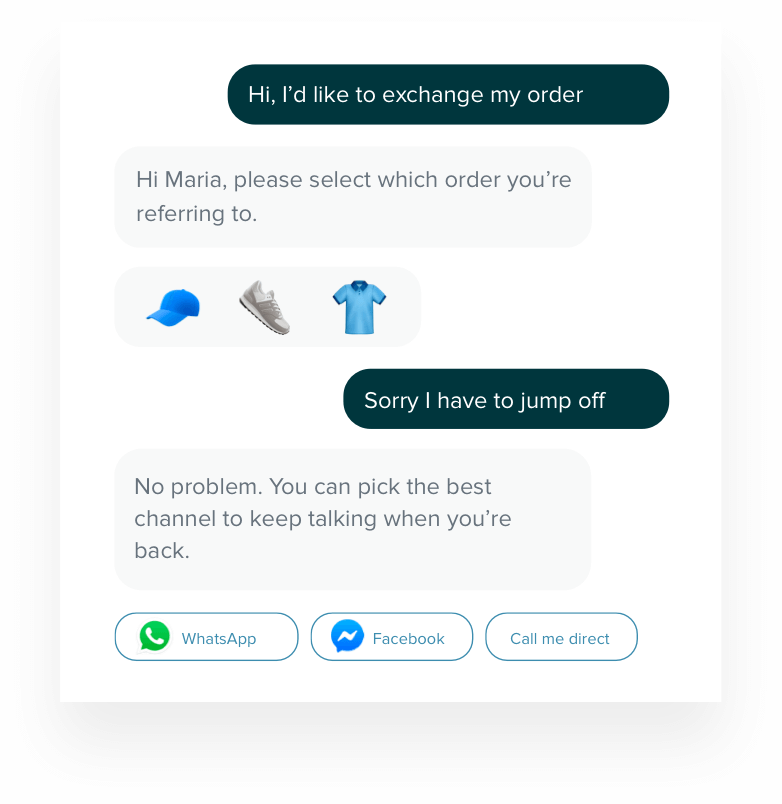
好的对话在哪里会变成很棒的体验
为了让客户满意,你需要对话体验——通过任何渠道进行沟通。
服务
销售量


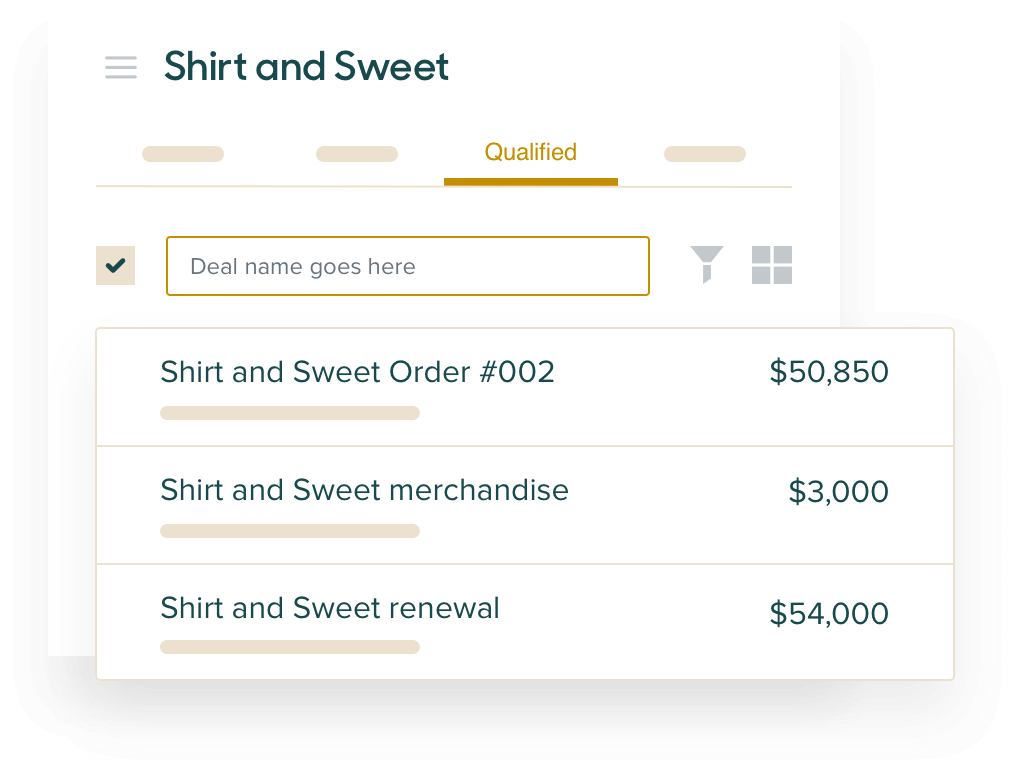
自定义您的客户体验
Sunshine允许您定制和扩展Zendesk,以提供个性化的体验,帮助代理保亚博持效率,并保持整个业务联系。此外,它是开放和灵活的,所以你可以迅速适应任何扔向你的方式。
数字客户服务用例中的#1
“亚博Zendesk使我们能够以任何方式,形状或形式为客户提供服务的所有人员在一个平台上为客户提供服务。它为我们提供了一种全面的数据来源,使我们能够看到我们的客户和我们在全面做的工作发生的事情。“
蒂姆苏尔兹伯格
服务设计与创新经理rea group
.png)
“亚博Zendesk为我们提供了所需的最佳实践,让我们能够在一个中央平台上管理所有收购业务的客户支持。因此,我们所有产品的客户满意度从2020年6月的89.2%上升到2020年11月的94.8%。”
拉胡尔苏
首席执行官奉献

“我们的Z亚博endesk客户成功经理非常彻底,结果为导向,她的指导在做出正确的选择方面帮助了我们很多。两年前,她提到了Chatbot解决方案如何帮助我们自动化直接对话,并为人类支持团队留下更复杂的问题。快进至今,Chatbot决定了我们客户查询的41%。“
弗朗索瓦•皮卡德
operations回店